Words and photos by: Chris Garrison

Westcott Ice Light from Alex Glass on Vimeo.
I originally shot cars when I was coming up as a photographer, and I have been wanting to shoot them more and more recently. When approached to do a #BTS video about some of the commercial shots I was involved with last year, I really wanted to show what I do with the Westcott Icelight. Over the course of the project planning, it grew into involving two of the best crews I could ever imagine working with! The Dupont Registry has always been the dream magazine I look at as far as I can remember. The crew at AlreadyBeenChewed.tv is the future of commercial photography as far as I am concerned! With cooperation of both Dupont and AlreadyBeenChewed, they have allowed me to create one of my favorite photos I have ever taken.
The process of shooting is actually pretty straightforward and required minimal equipment. For the main shoot of the car, the equipment used was:
- Nikon D800 Digital SLR Camera (Body Only)
- Nikon AF-S NIKKOR 35mm f/1.4G Wide-Angle Lens
- CamRanger Wireless camera iPhone / iPad cameras remote Control Transmitter for Select Canon and Nikon DSLR Cameras
- Induro Carbon 8X CT314 Tripod
- Kupo Master 40” C Stand with Sliding Leg (Chrome Plated)
- Apple 16GB iPad Air (Wi-Fi Only, Space Gray)
- Westcott Ice Light
- Westcott SkyLux LED Light
- Westcott Strip Softbox with Silver Interior (12x36”)
The final shot requires multiple images to be layered into a single image for different purposes such as spectral highlights, shadow, and details. Basically the camera cannot move a hair. For this I used the Indruo C-314 Tripod and a sandbag to keep everything stable. The hardest part is to shoot and not get movement whatsoever; this is where the CamRanger comes in.
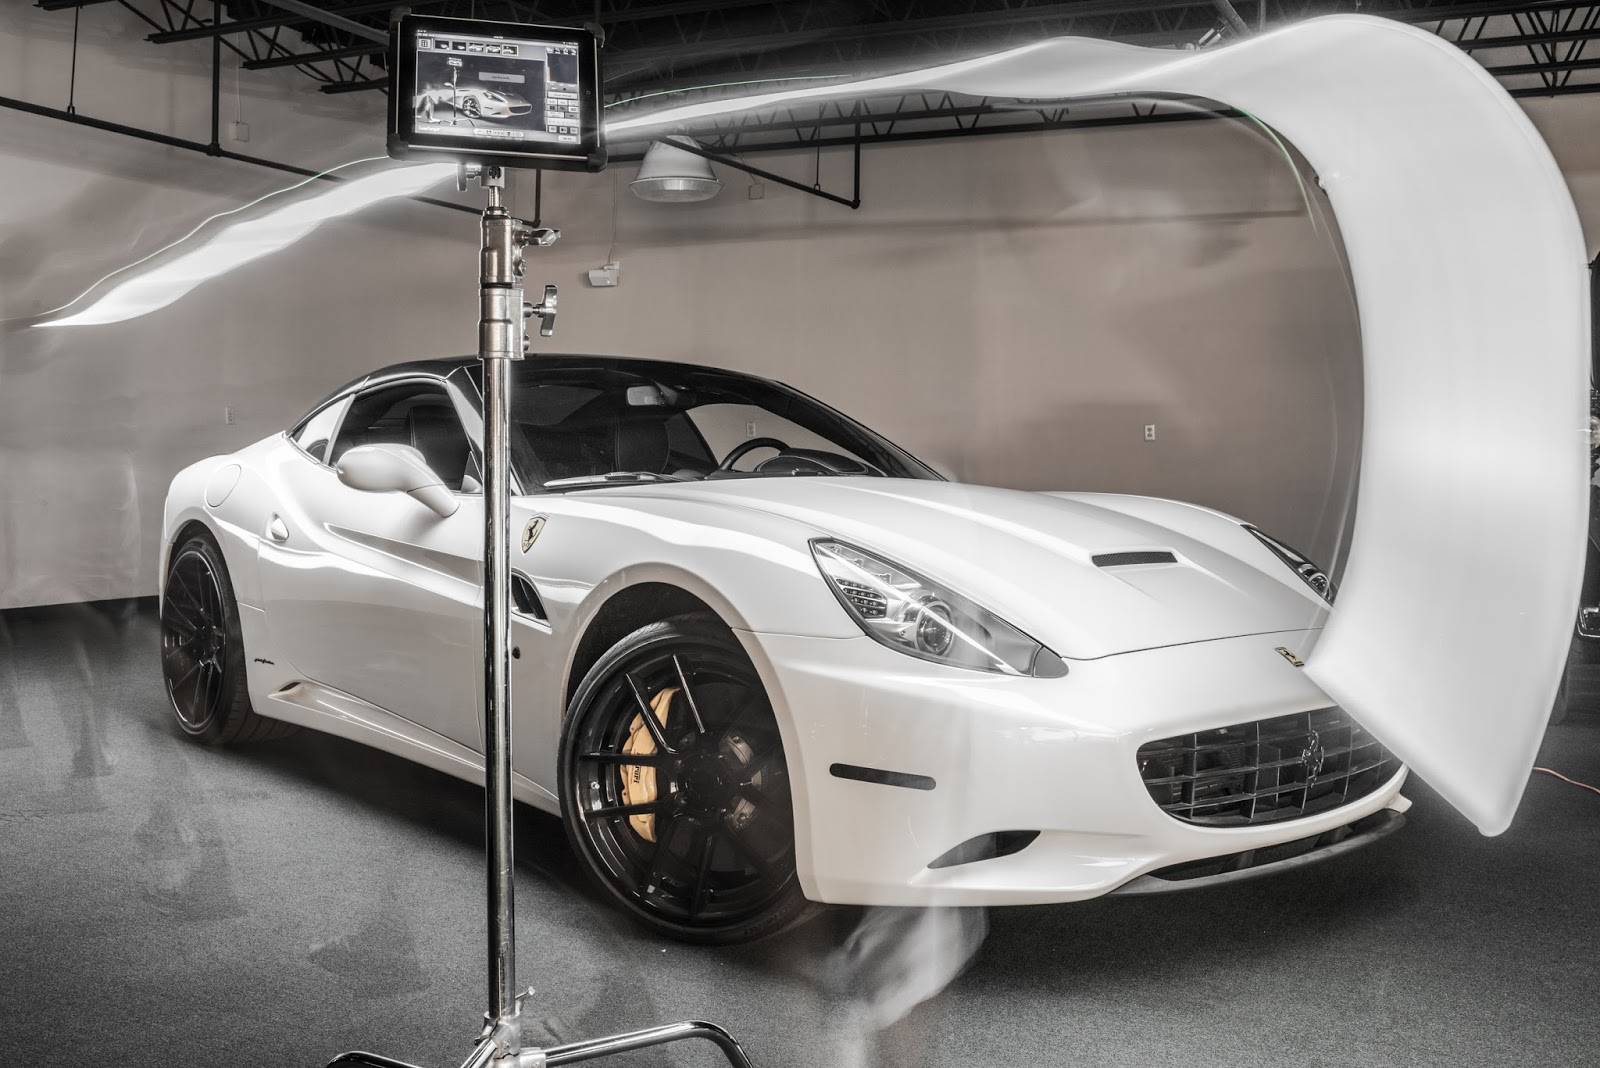
The Camranger allows me to have full control over the camera from an iPhone, iPad, or computer. This way I am able to adjust focus, set f-stops, and set the camera to bulb capture. I need to use bulb capture for the longer exposures required for light painting. I am able to start the capture, shoot what I need, and end the capture. I then can review the image and make adjustments as needed for the next image. I also have the option of of live view. I can do a test run watching the screen to see if I am going to get the desired reflection off of the car.
The Westcott Icelight is one of the best pieces of equipment i have used for this style of shooting. Generally, in light painting techniques I would use flashlights or pen lights. These all work okay but have different white balances. The Icelight has a super controlled white balance, generally matched to my flash’s white balance of 5600K. This way I can also use my Elinchrom flashes in a lighting painting and flash mixed image. The ice light also has an internal battery which has an insanely long run time. I did not even recharge the battery for the entire shoot, and the video guy was using the Icelights for most of it. They also have a soon-to-be-released barn door attachment which helps control the beam and light spill-off of the Icelight. I also have the ability to control the light output via the dimmer on the Icelight control panel.
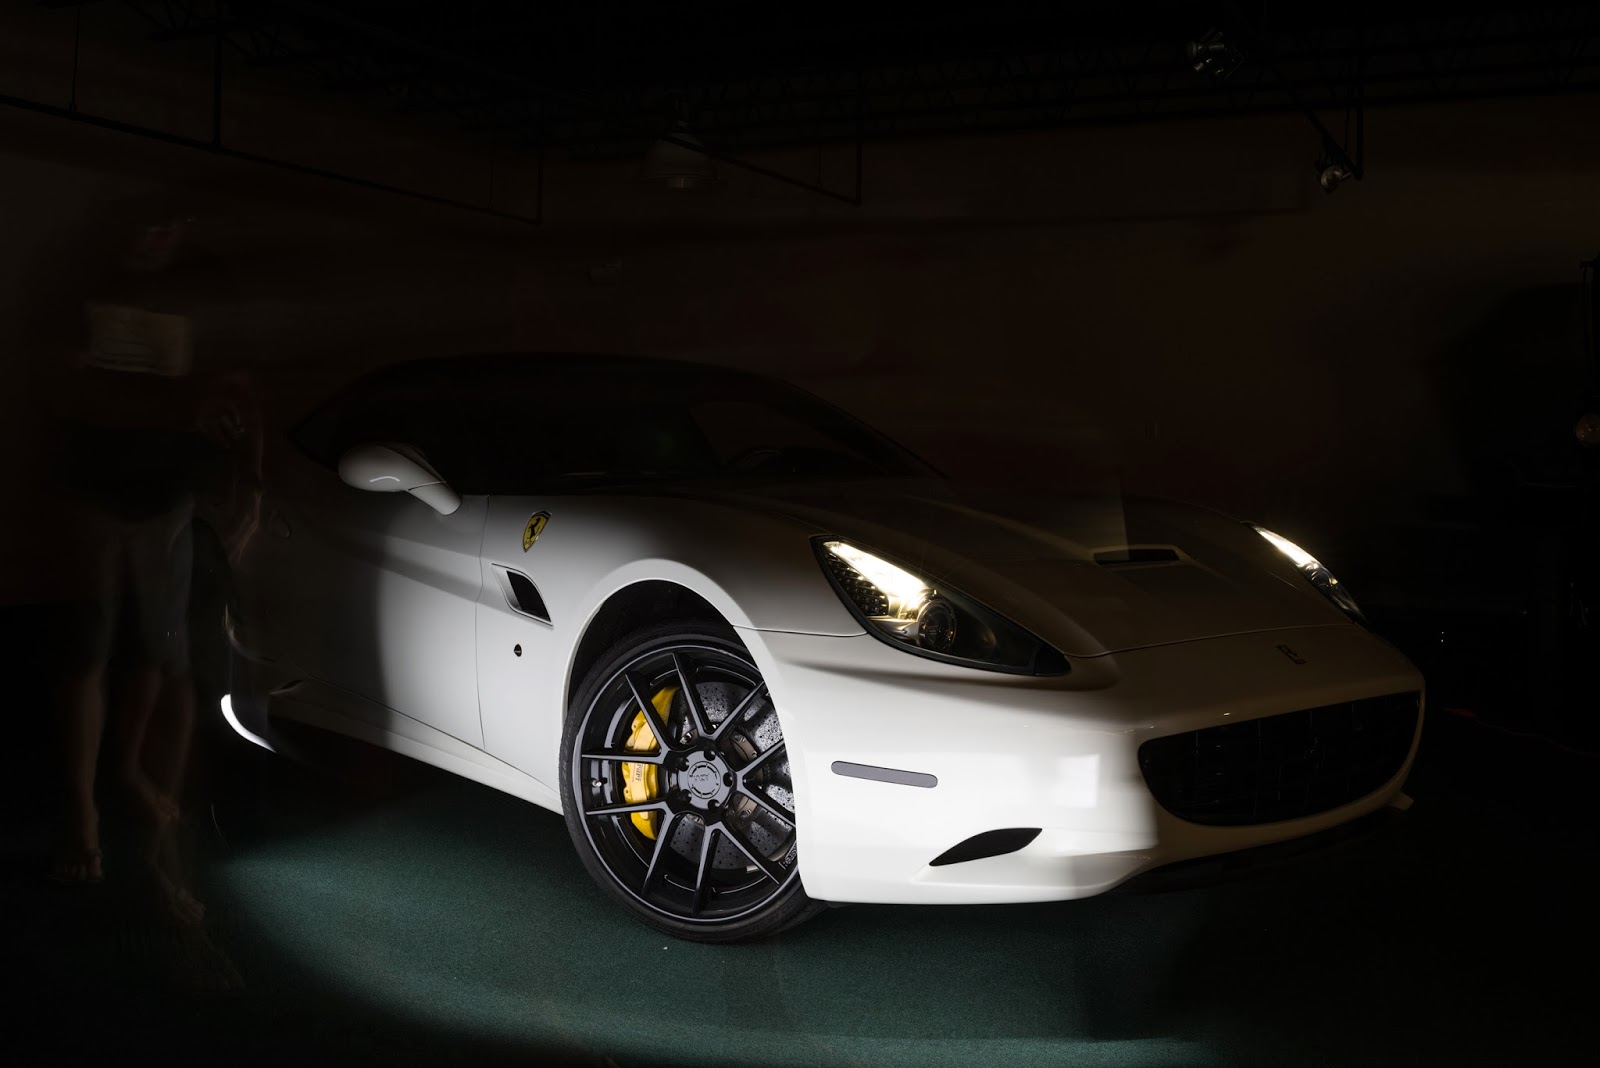
Here is one of the images where I am using the Icelight to get the main spectral highlight from the rear of the car to the headlight.

Westcott also has a new product called the Skylux. This is a kelvin matched constant LED video light that works with the Icelight. It is not battery powered as it puts out a lot of power. It also has a dimmer control, so you can match the power of the Icelight. I love using the Skylux because it accepts Lightbox accessories from Westcott. I tend to use a large soft box to get softer lines along the car, or softer reflections.
This is an example of using the Westcott Skylux to get a softer reflection on the ADV1 rims.
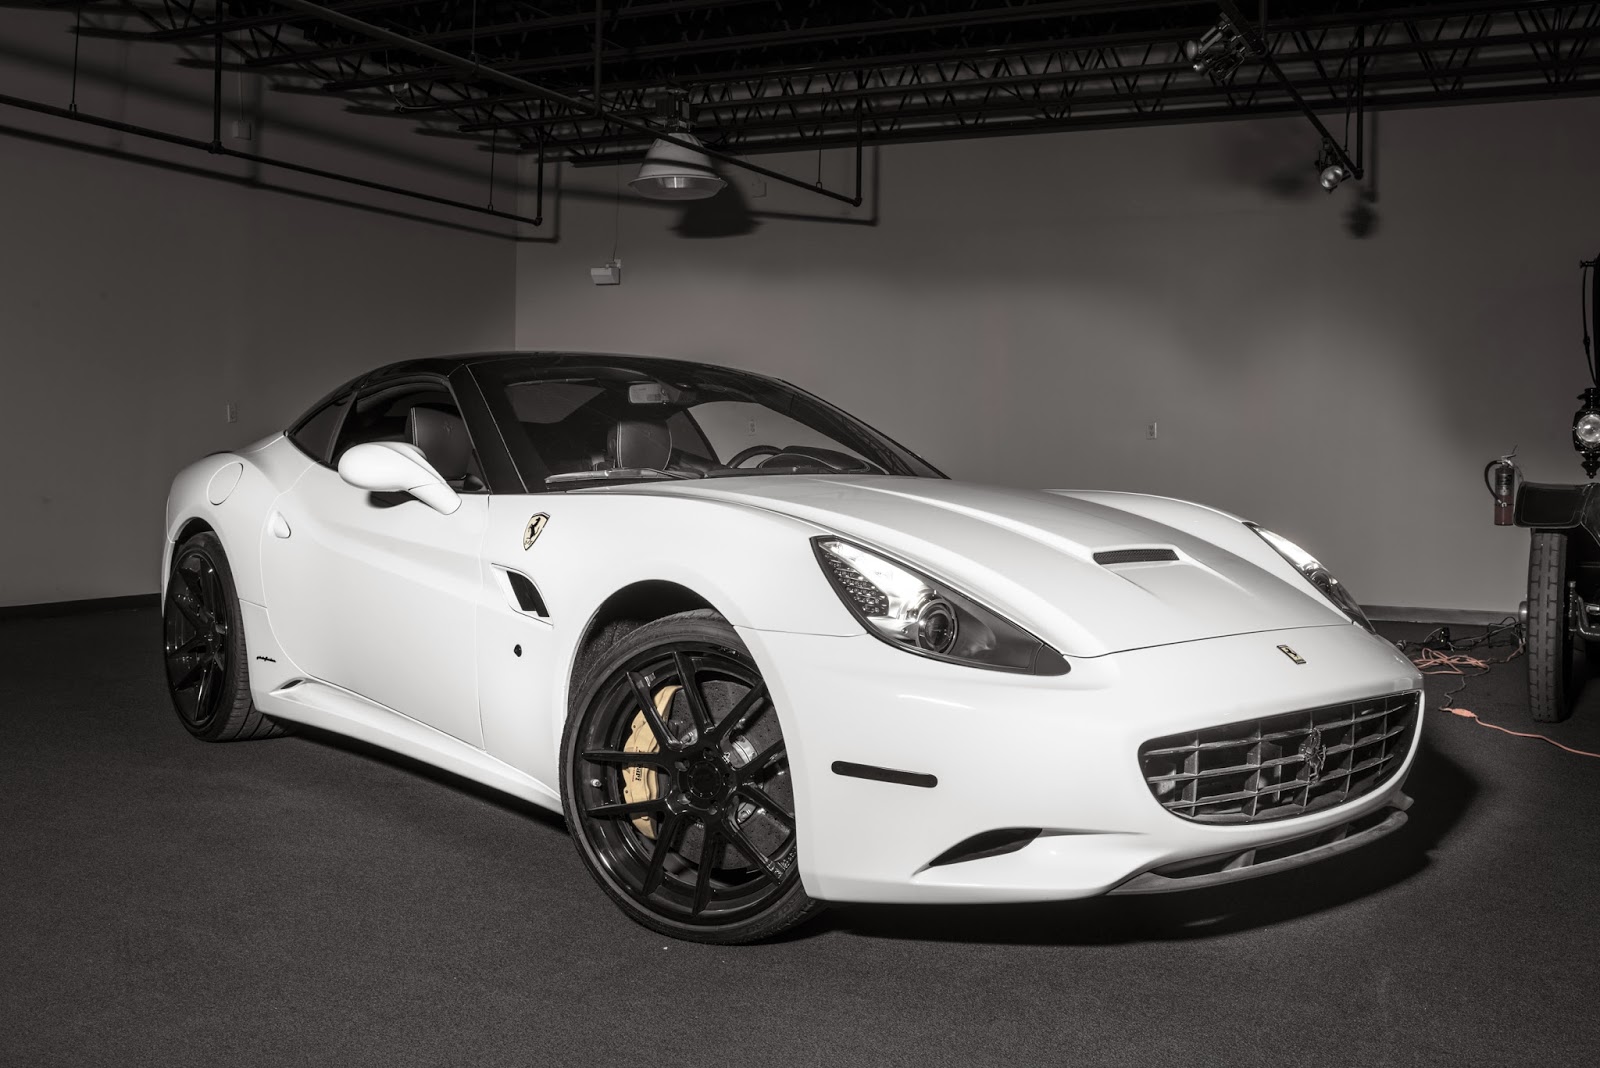
I then used the Skylux to give the car a flat even light.
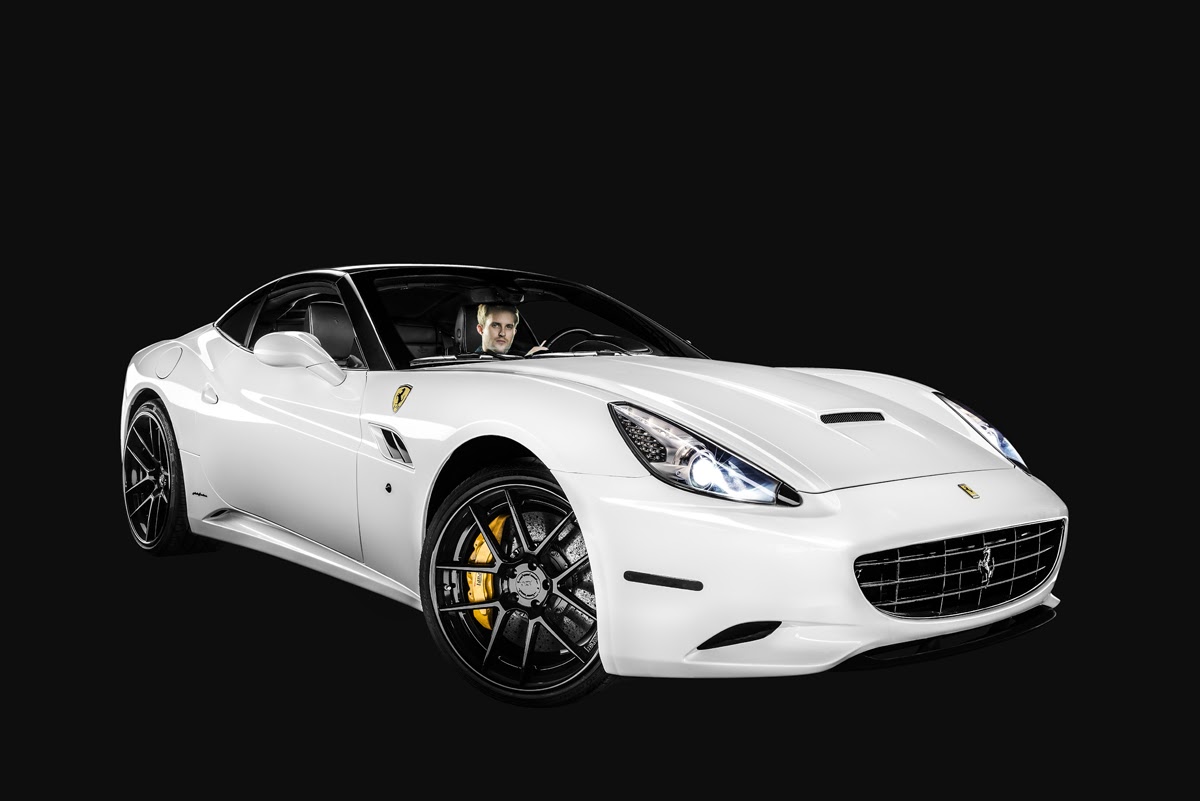
For an option, I added Steven in the car and used two Icelights for rims lights, and the Skylux with a soft box for the main overhead fill light.

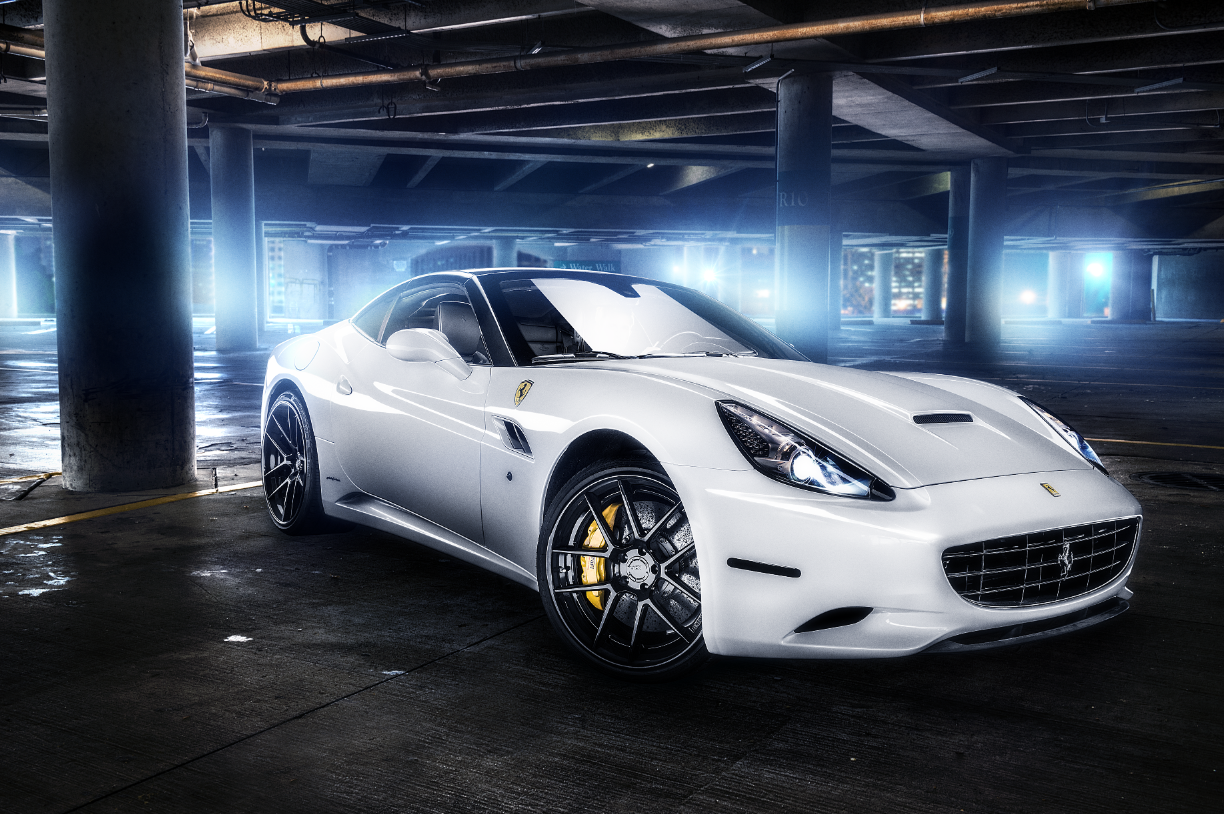
The initial shoot is the easiest part of the entire process. I then go into Photoshop and layer in all the images I took. I ended up using 31 images for different highlights, shadows, and parts of the car to create the final image below.
This images is all 31 shots layered together
I then clipped the background to get a better look at the shot.
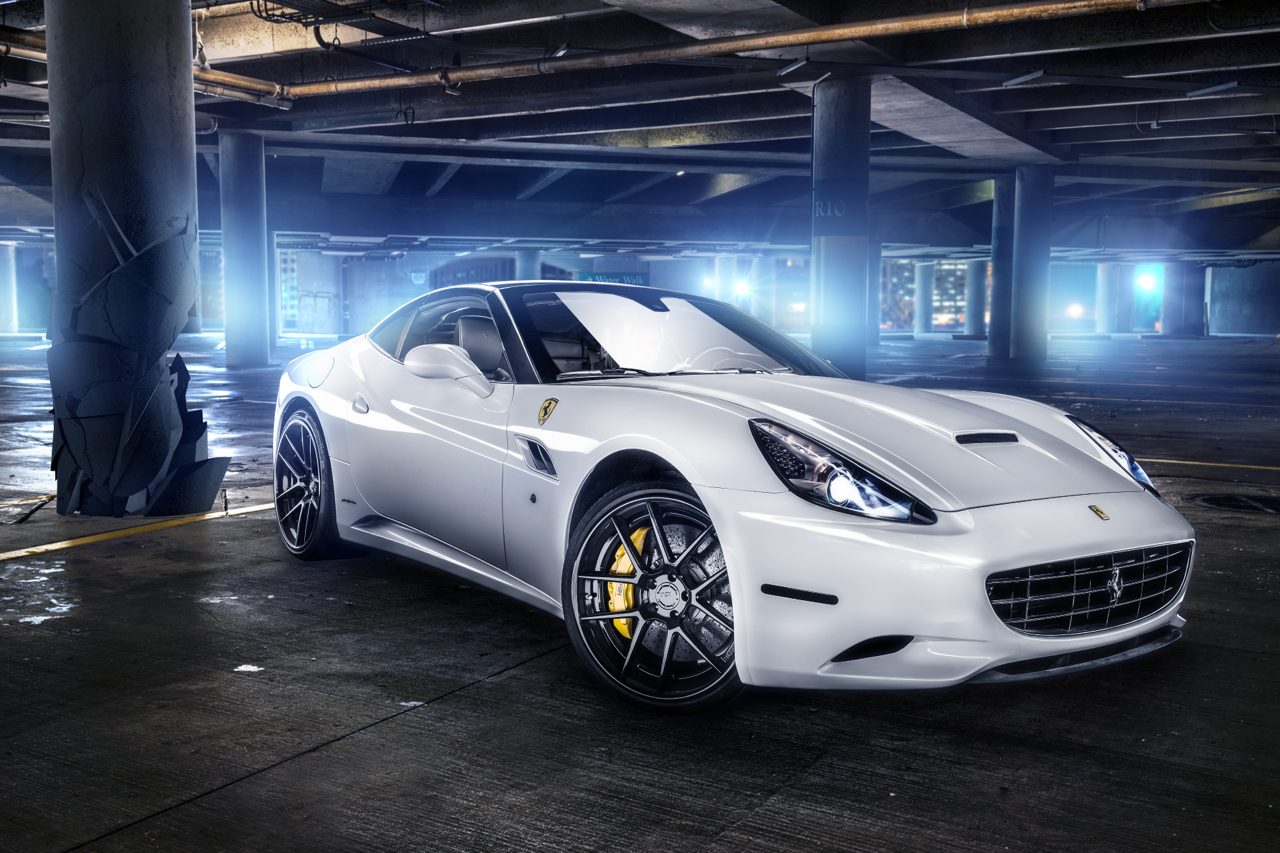
After the shoot I walked around downtown Tampa Bay and took various images for a background. I ended up liking the sparkling garage of the Westin the most. Here I dropped the car into the background, added a shadow and some light coming through the windows of the garage. This part is tricky as you have to shoot the same focal length, camera level, and angles so it looks realistic.


For the final image I shot the layers over to Barton Damer of AlreadyBeenChewed.tv. They specialize in motion graphics and creative design. I have worked with them on a few previous projects, and they are my go to guys for any C4D style image processing.
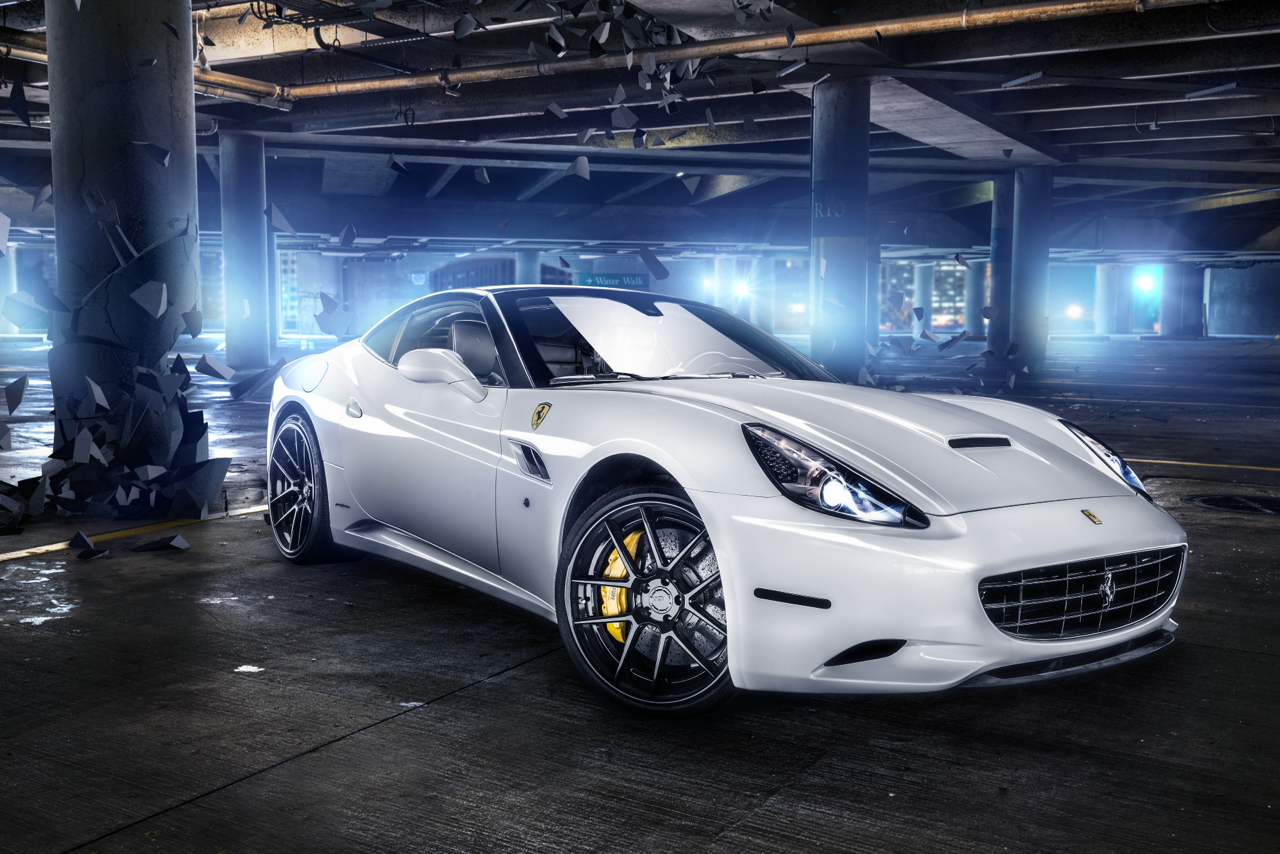
Here is the first part of the image where Barton added some tea light, some of the city skyline I shot, and adjusted the Ferrari Position.
This is the first step of the C4D working on the cracking “earthquake” like effect on the garage.
A little further adding some overhead effects.
Then ground in the earlier stages of the rendering.

THE FINAL SHOT
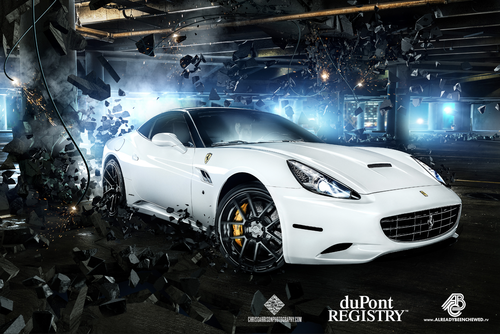 After shooting some smoke and sparks in the garage, Barton was able to finish off the final image! Feel free to click the image and download it for a desktop background or screensaver! Thanks to the crew at Dupont Registry for the Ferrari and location, Barton for working hard on the final image, and Alex Glass for the #BTS video!